
How to Make a Seashell Imprint Necklace
[ad_1]
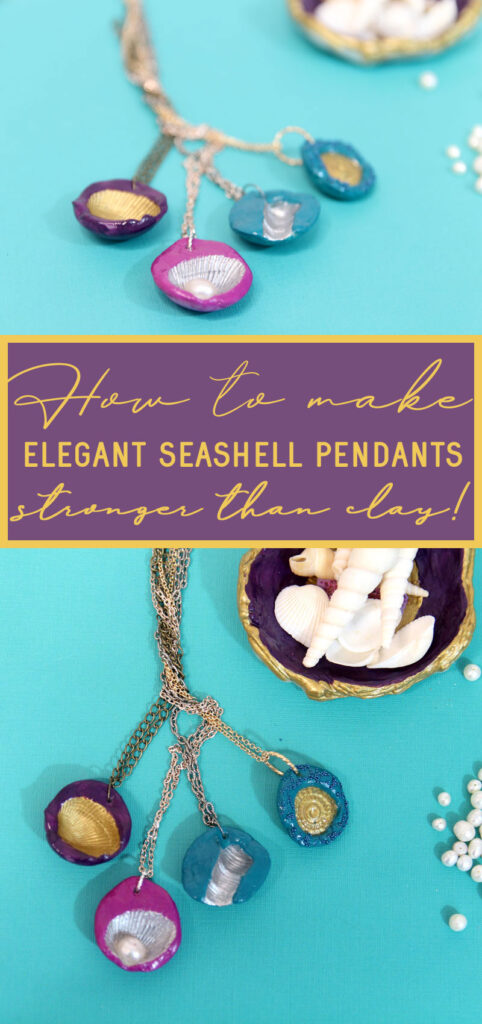
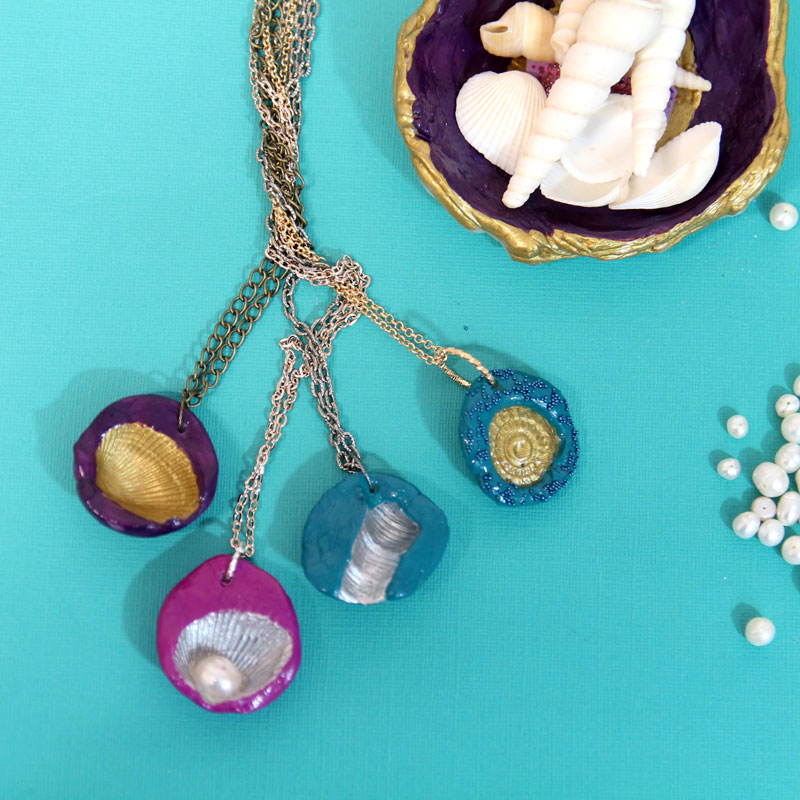
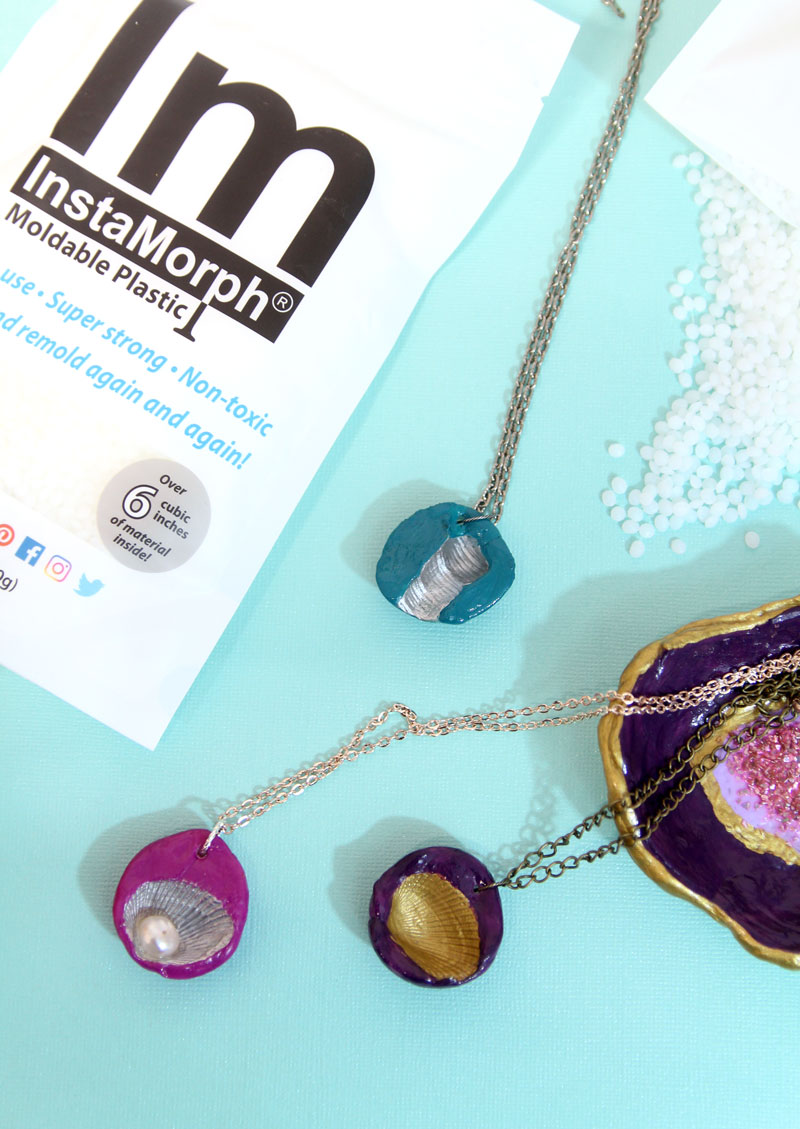
Craft your own seashell pendants using a super durable clay alternative! Imprint necklaces are both elegant and fun, and are a great beginner InstaMorph craft. This post is sponsored by InstaMorph.
Imprint seashell pendants are a classier take on some of my favorite jewelry – seashell necklaces! And they are so strong, thanks to InstaMorph – a moldable plastic that is heat activated.
Instead of molding clay around seashells, which I’ve done in the past as a fun kids’ craft, I took it to the next level. I made seashell pendants that instead use smaller shells to imprint, lined it with metallic paint, and turned it into a much classier and more sophisticated piece of jewelry.
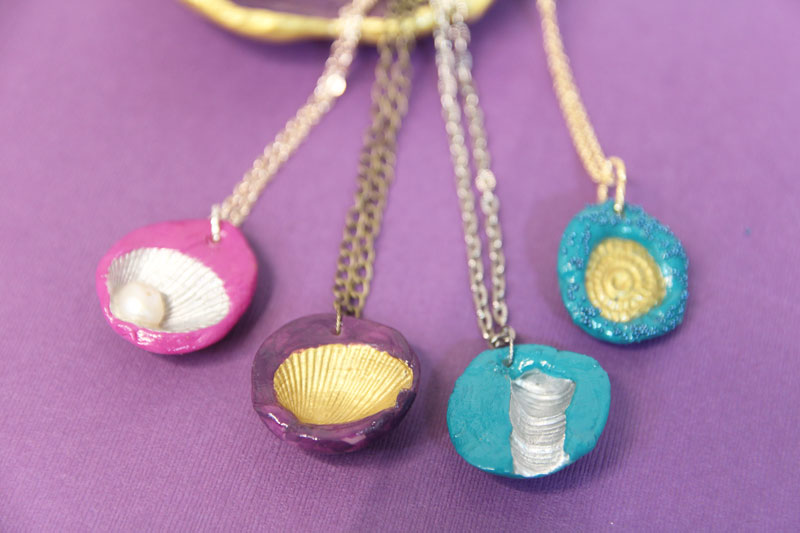
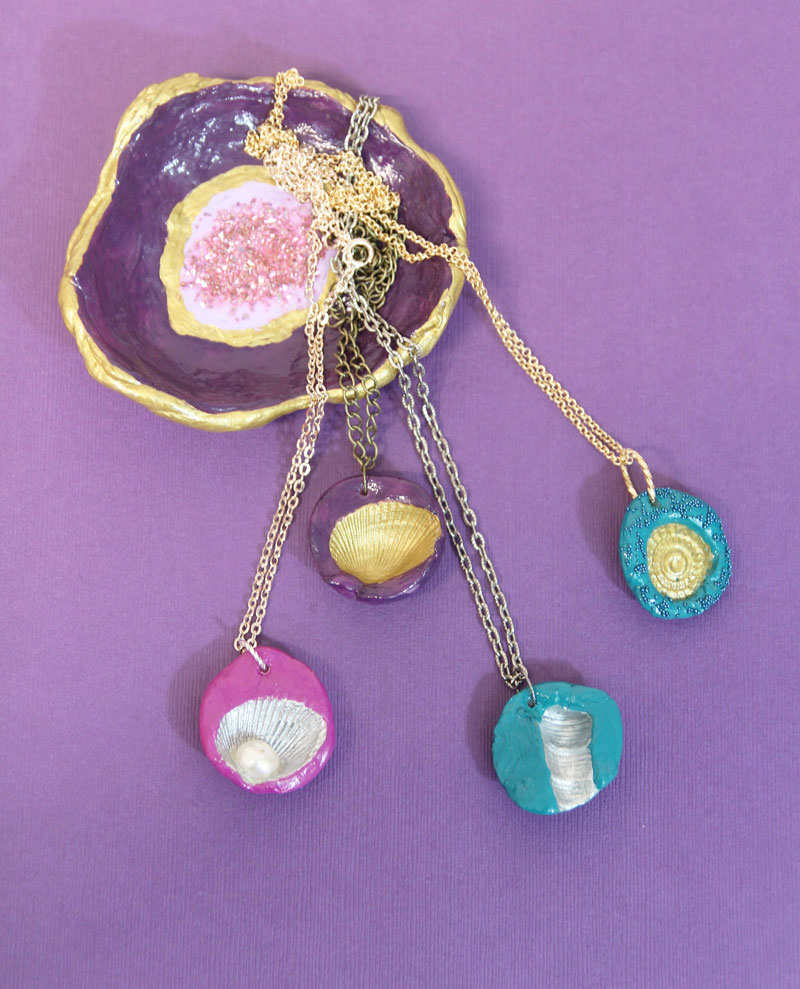
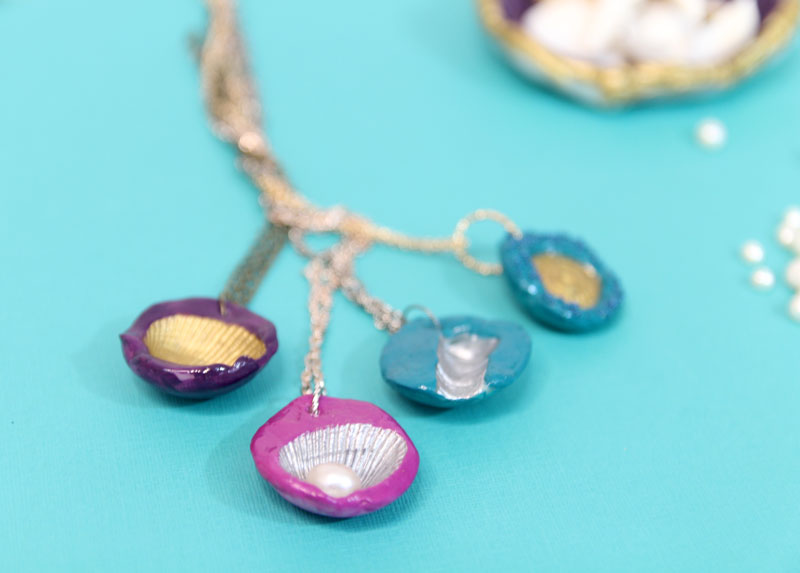
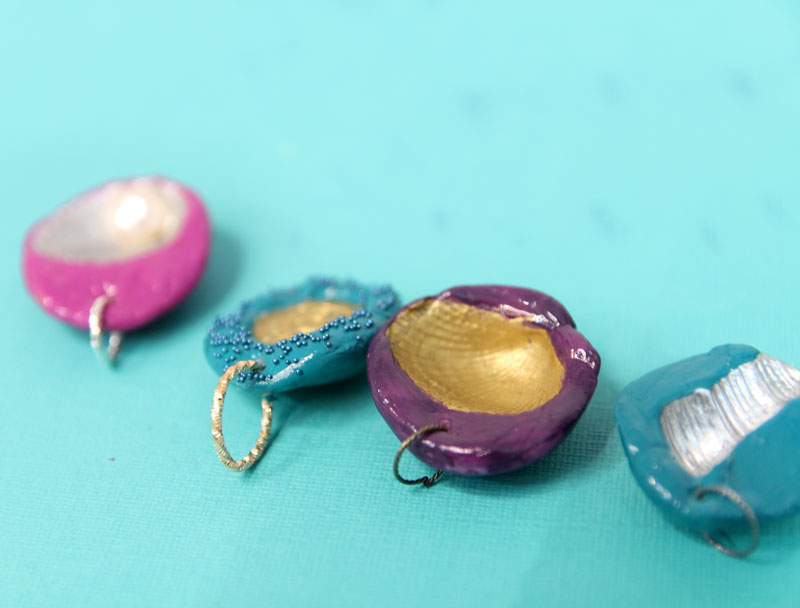
You can totally get creative with seashell pendants!
You can keep it simple.
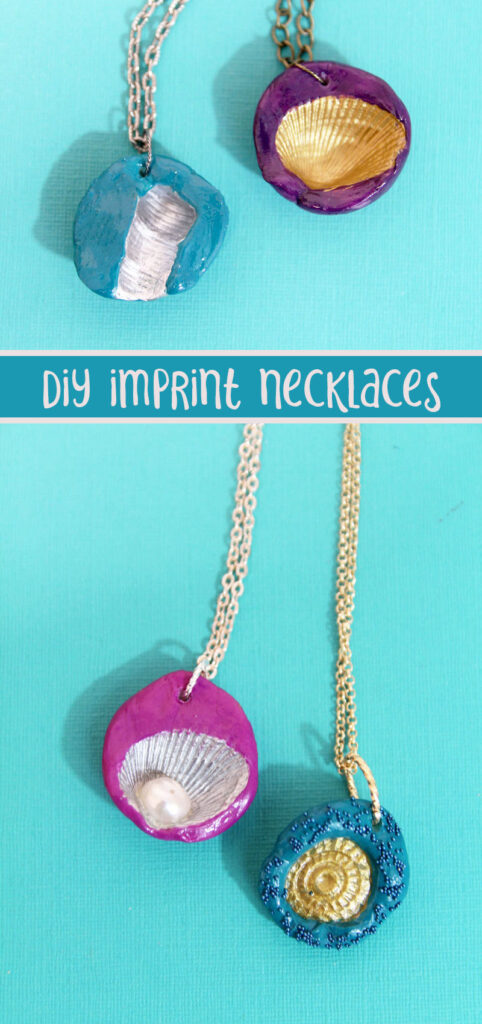
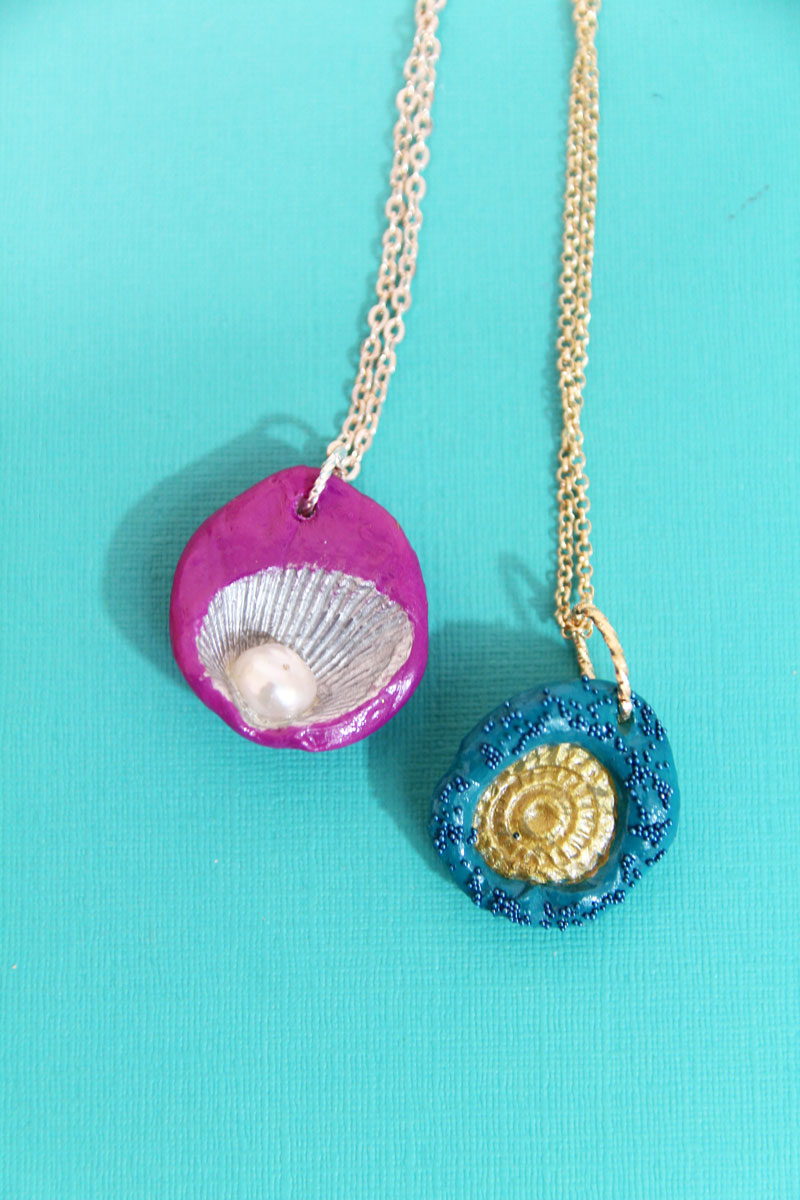
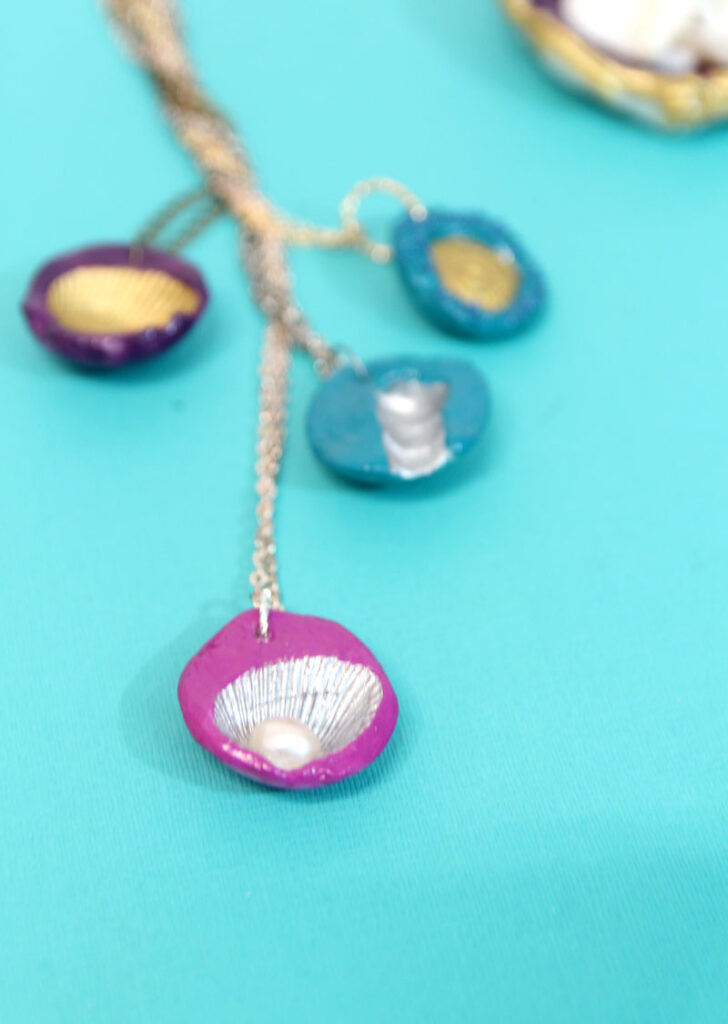
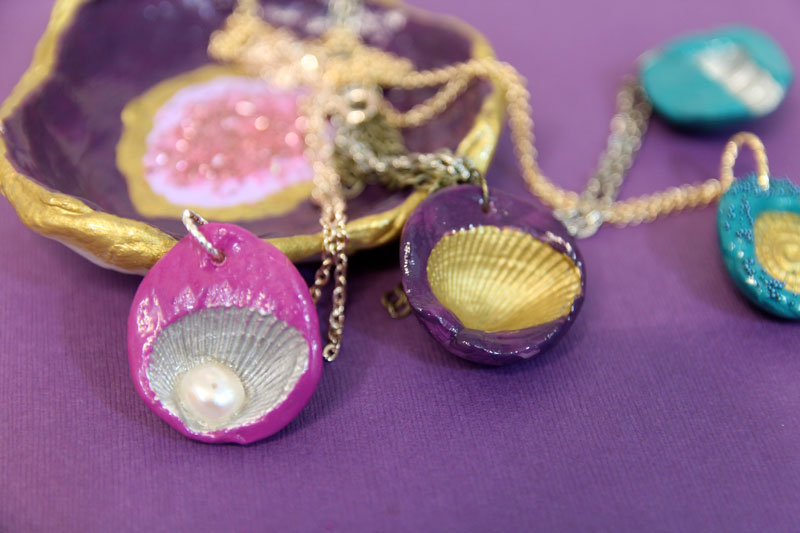
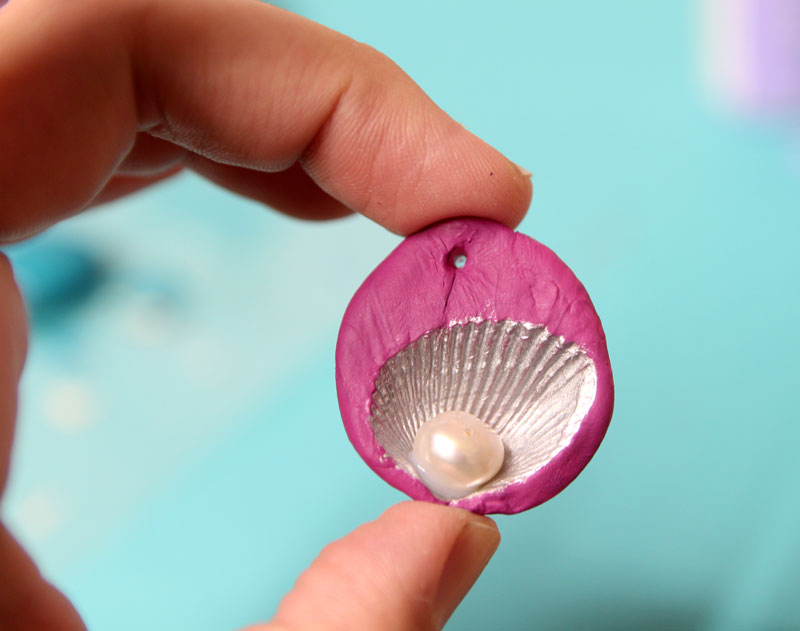
Or, you can add cool details such as pearls or micro beads!
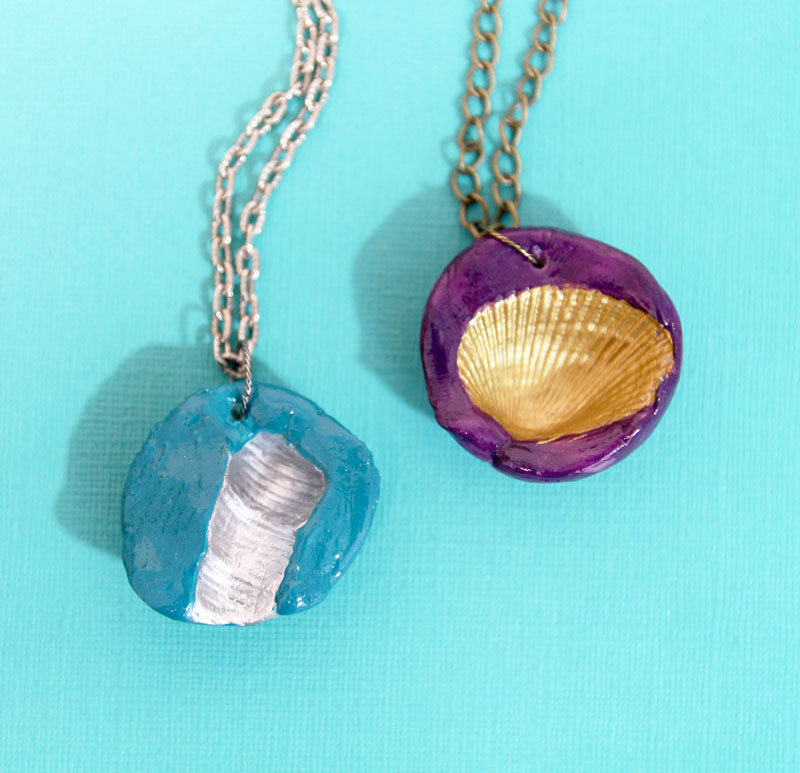
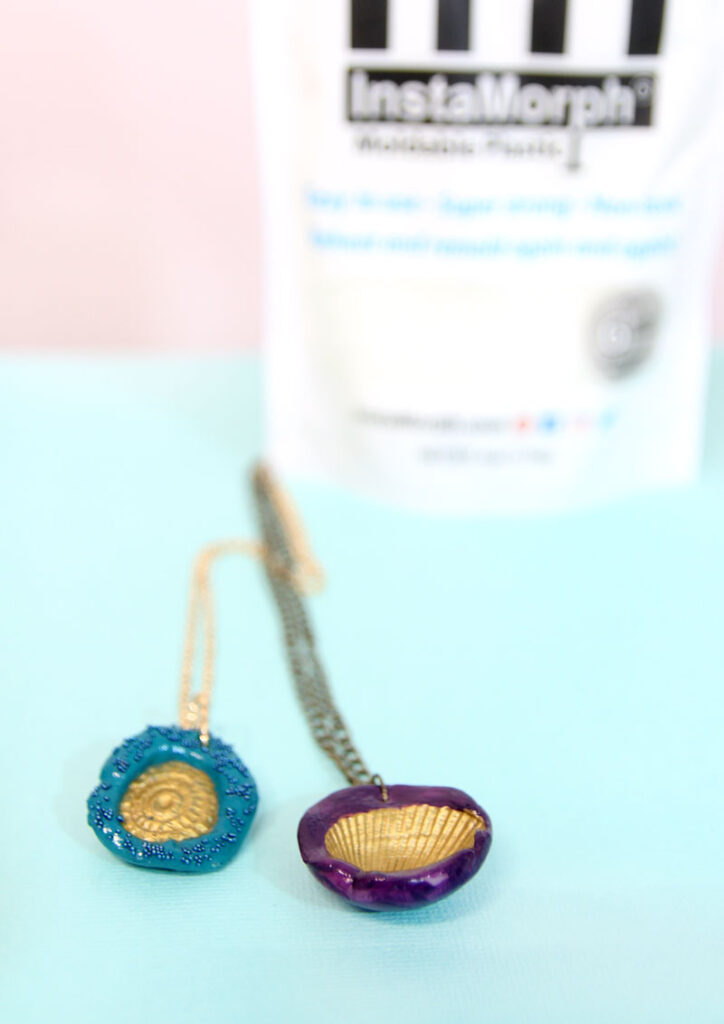
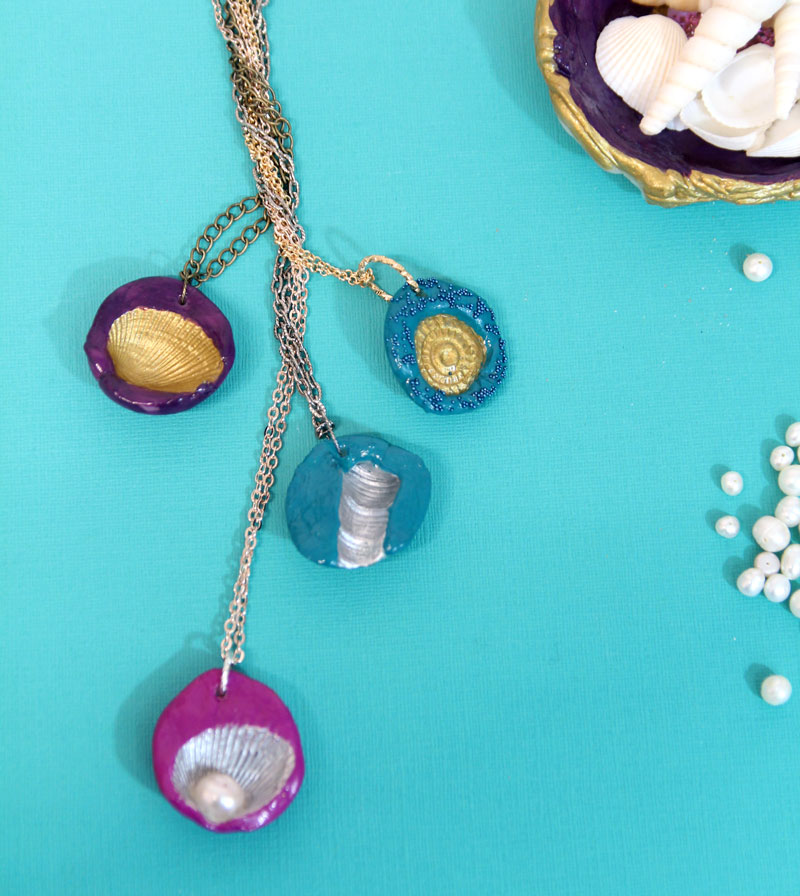
Metallic detail makes these just a touch classier. If you want them to be even more sophisticated, you can paint it exclusively in metallics. However, I do recommend contrasting the color of the imprint with the border – it looks so good! You can use two-tone metallics – either mixed metal, or a darker and lighter shade of the same.
Don’t limit yourself just to seashells! I found a cool vintage button in my craft room that had an ugly color but a cool design. It fits right in and has an impression I couldn’t have crafted myself.
What can you make with InstaMorph?
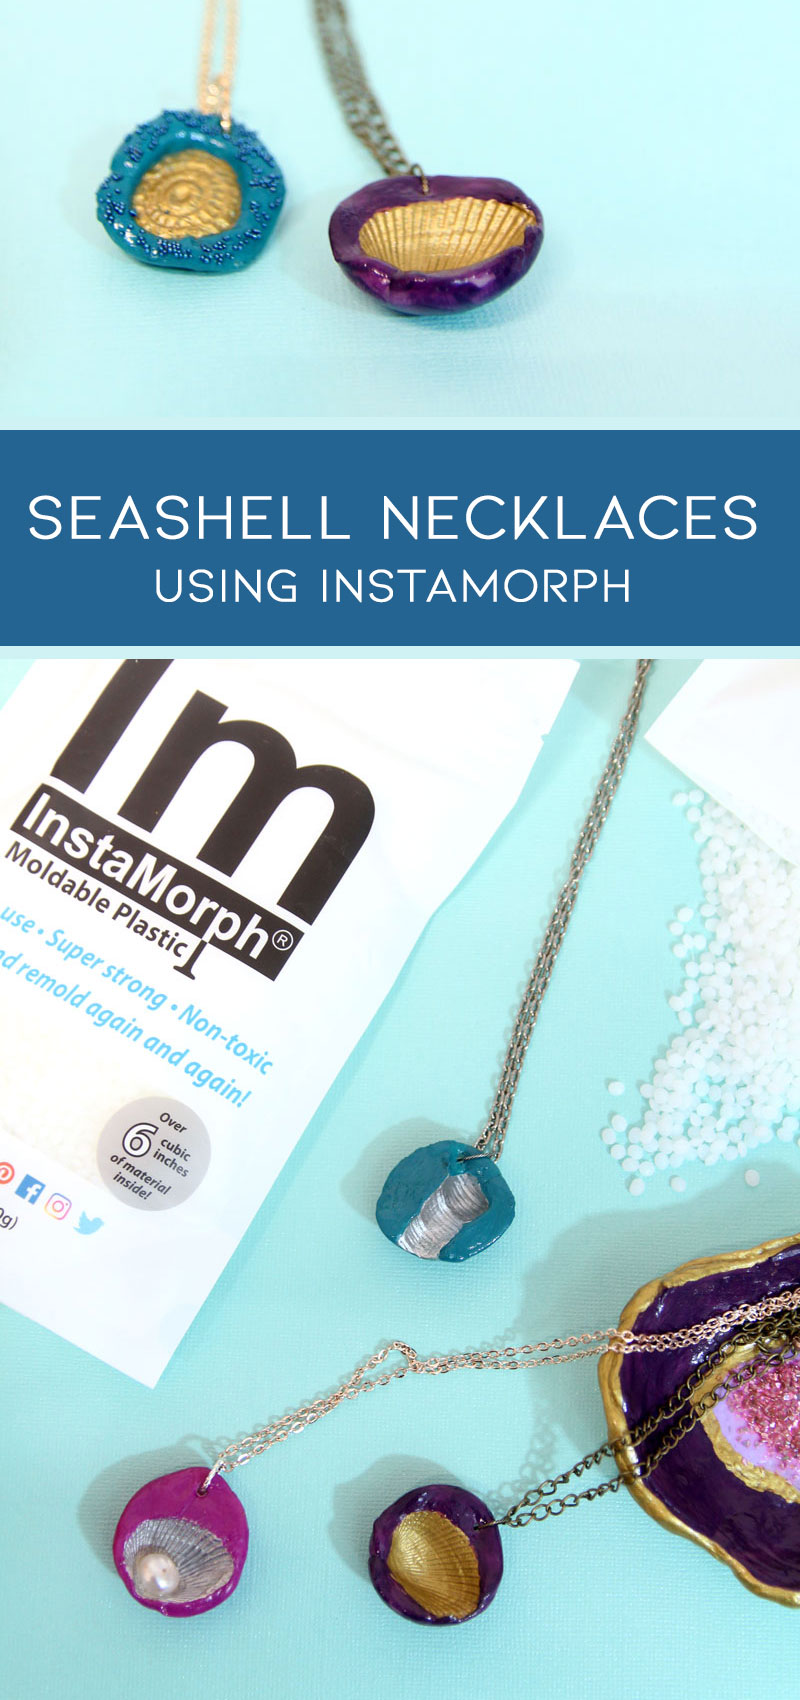
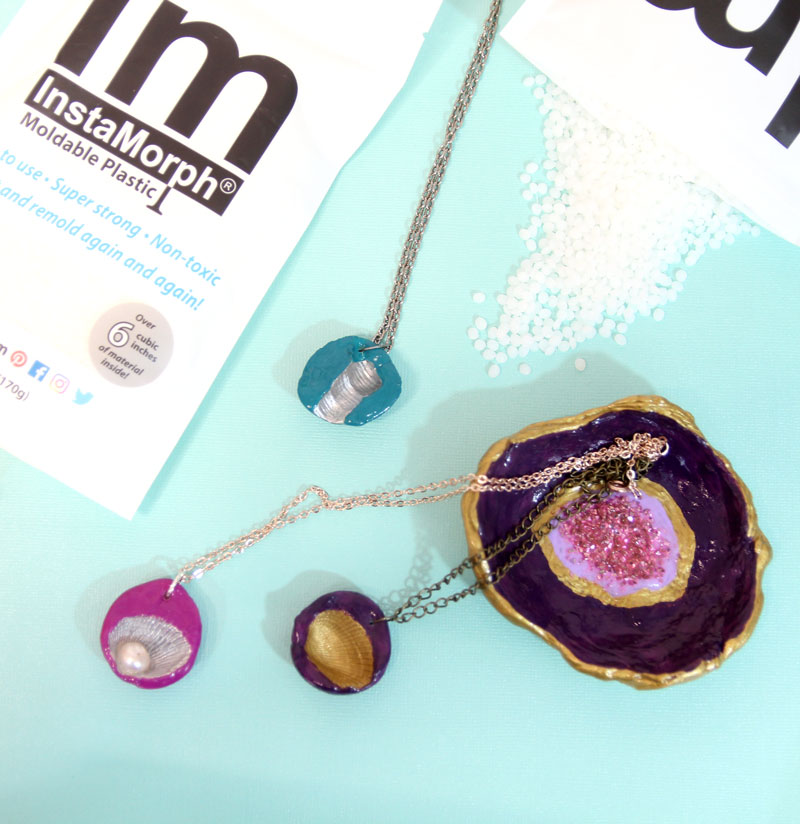
InstaMorph comes in the form of plastic pellets that are heat activated. Just place them in hot water and they turn into a moldable material!
This is a great product for those of us who want something with a stronger final result than clay but that’s easier to work with than resin. It’s kid-friendly as it’s not hot when it comes out of the water (just make sure a grown-up supervises and deals with the hot water or any of the heating process, and ensure that temperatures remain at a safe level).
InstaMorph can be used in so many ways! Here are some things besides seashell pendants that I tried to make, as well as some things I’d like to try:
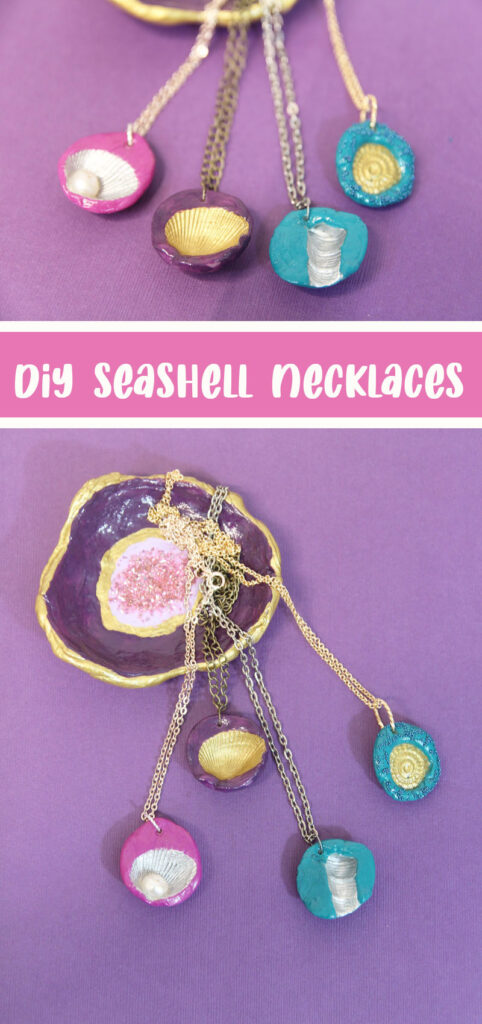
- Make a ring or jewelry drop dish! I painted mine like a geode.
- Craft a lightweight, non-jangly bangle. You’ll want hot water available to tweak your design as you go along.
- Use the same tutorial to make drawer pulls by adding hardware instead of imprinting shells.
- Make molds! This exact tutorial can be used as a mold for other crafts – just keep in mind that you can’t use it for heat (it’ll soften) and it hasn’t been graded as food safe yet.
Basically, anything that you’d like to have in a durable opaque plastic can be formed from InstaMorph. And if you’re not quite happy with the initial results, just drop it back into the package and save it for the next craft.
Tips for working with InstaMorph
Just like with any new craft material that you’re trying, expect there to be a learning curve with InstaMorph. For true beginners, I recommend using molds to get things as you’d like them on the first try. Stiff molds (rather than flexible silicone) seem to work better. Of course, it’s easy to experiment with InstaMorph since you can reuse it by reheating it!
Use tongs or gloves to remove the InstaMorph from the water, because it’s HOT. That is, the water, not the InstaMorph. It should not be too hot to handle, as long as you don’t overheat it. I personally used gloves while creating this tutorial because that’s what I had handy, but at a later stage I just pulled it out with the back of a paintbrush.
You can keep the water on the heat surface to make more advanced designs. This way you can easily reheat it as needed to remold, smooth, and even add texture to your craft.
InstaMorph turns clear when moldable. It goes back to its opaque color when cured. So, just peeking at your pellets will show you if it’s ready to work with.
Finally, you’ll want to use a smooth-surface-friendly paint to complete your craft. I used acrylic paints and sealed it with a super gloss finish. You can also use a plastic primer, plastic-friendly spray paint, or seal it with resin for a chip-free finish.

Supplies for making seashell pendants
- InstaMorph – One package can make about ten seashell pendants!
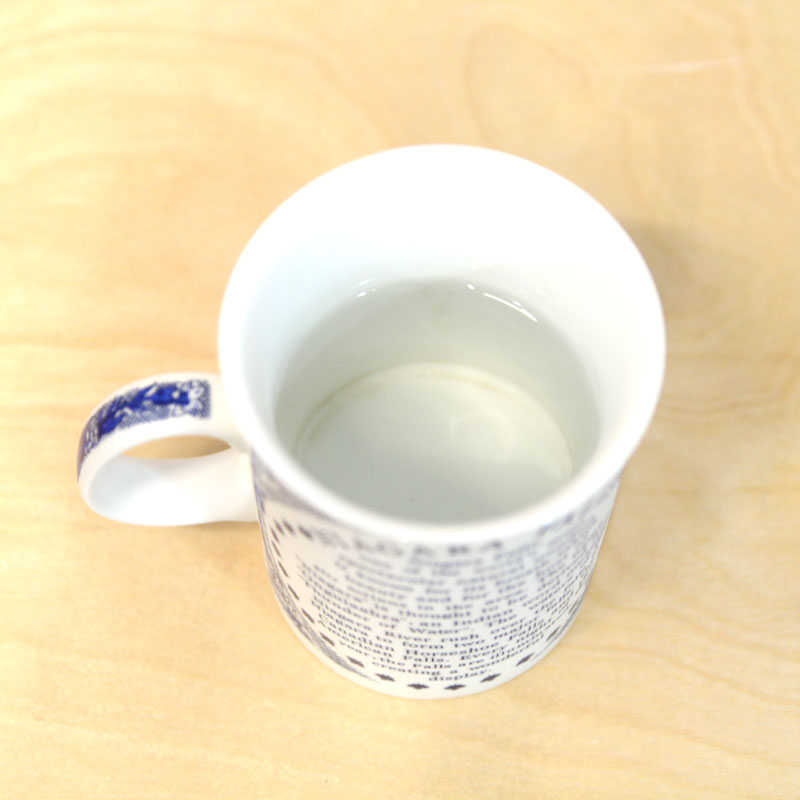
- A hot cup or mug with hot water
- Tongs, heat-proof gloves, or something else to handle your InstaMorph with
- Small shells – found or purchased. Or, try finding other items that’ll leave nice imprints – if you don’t like the result you can reheat and try again!
- Small paint palette or other stiff mold
- Metallic multi surface acrylic paint
- Contrasting multi surface acrylic paint
- Paintbrushes
- Super gloss sealer
- Jump ring
- Finished chain
How to make a seashell necklace
1. Follow the package instructions to heat your InstaMorph. Heat water to about 150 degrees Fahrenheit. Tip: if you use an insulated cup or keep the water hot, you’ll have it handy for reheating as needed.
2. Pour some InstaMorph in the water and wait a couple of minutes. You’ll see the pellets turn clear.

3. Take it out of the water (don’t touch the water – use heat-proof gloves or tongs to take it out). Your InstaMorph is now moldable!
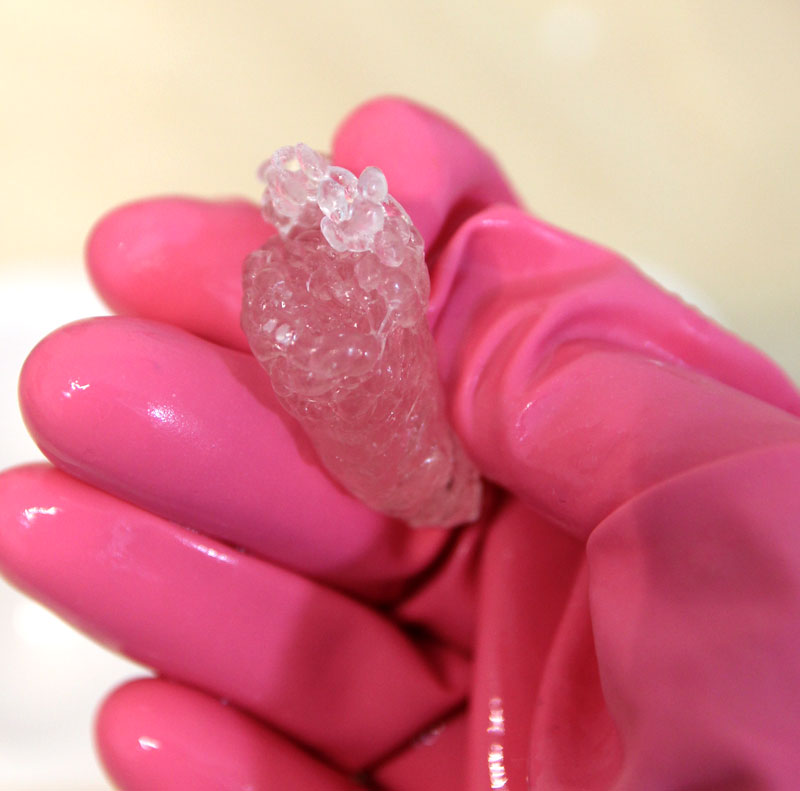
4. Break off a piece and press it into the palette.

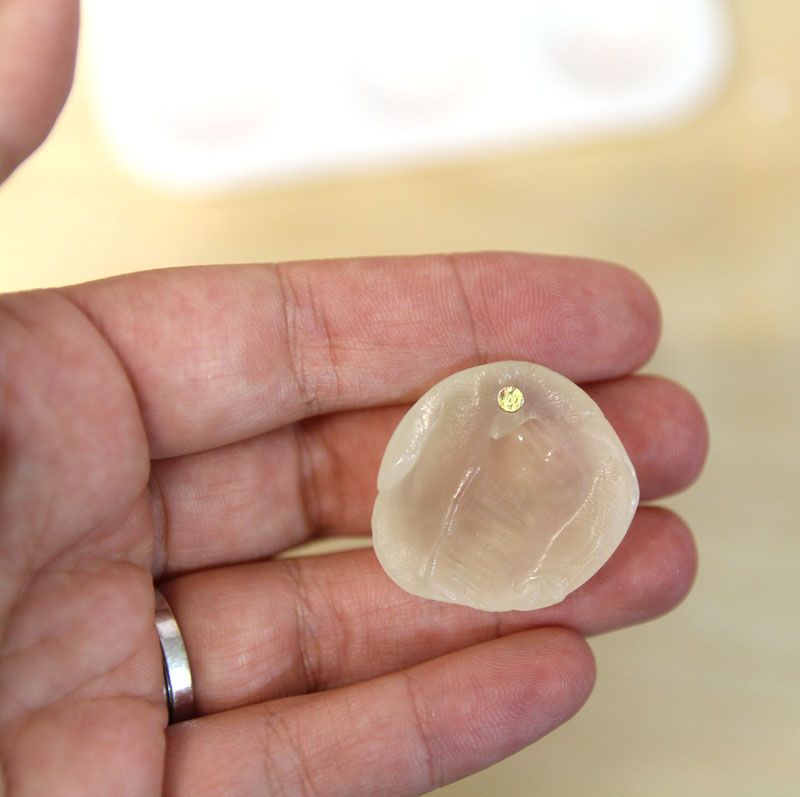
5. Press in your shell.

6. Your InstaMorph will be starting to lose its transparency at this stage. Take it out and carefully press in a nail, pushpin, or even a paint brush handle to make your hole. Reheat it if you want to smooth the top or fix it at all. I like when my crafts take on an organic texture, so I didn’t fuss much on most of my seashell pendants.
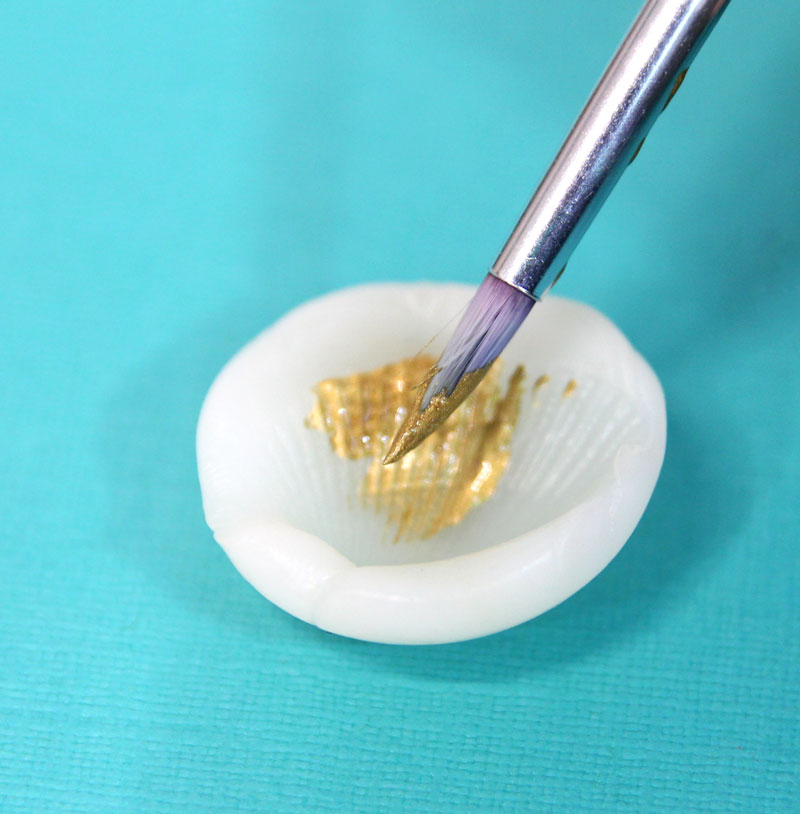
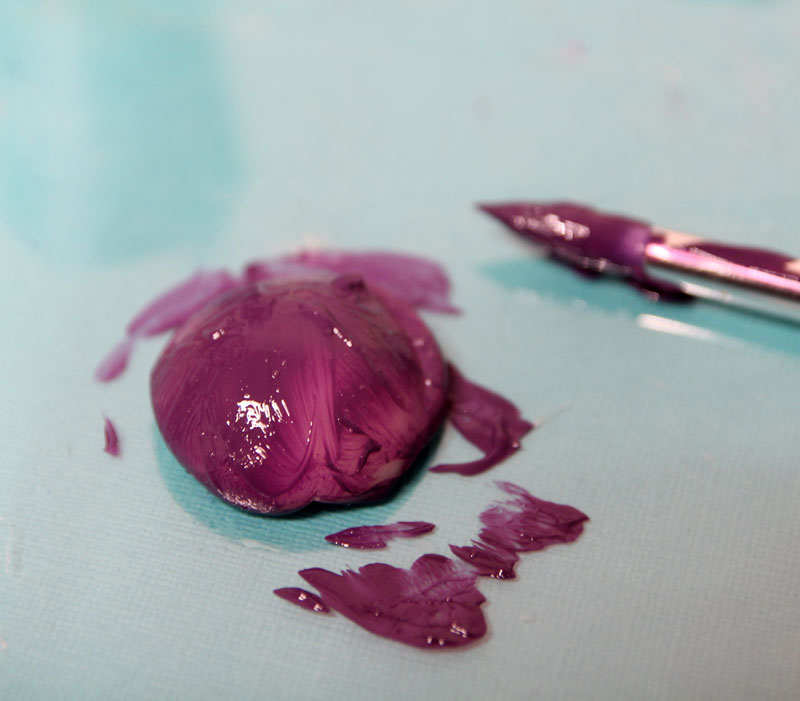
7. When your pendant turns white, paint the imprint with metallic paint.
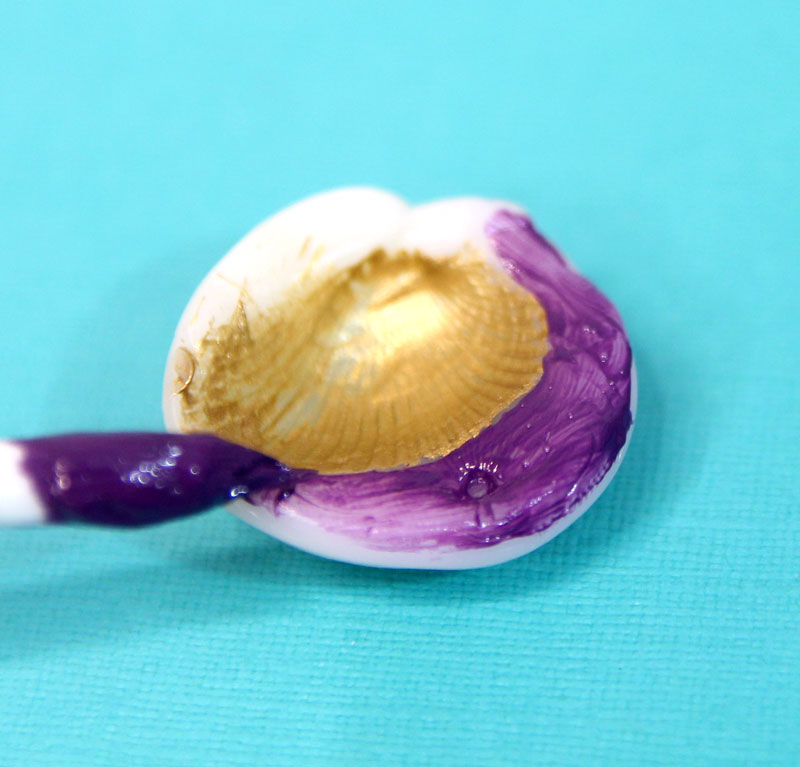
8. Paint the surrounding area a contrasting color. Paint thin layers, allowing each to dry in between. Refine your edges as you paint each layer.
9. Don’t forget to flip it over and paint the back!
10. When you’re done painting, add your sealer. At this point you can also add any embellishments you want.
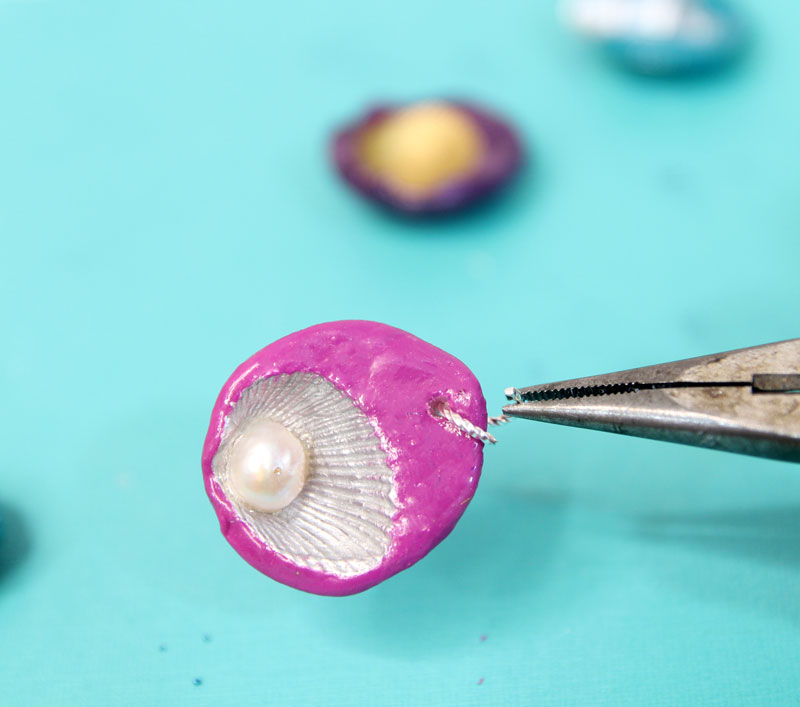
11. Open a jump ring with a backward/forward motion and place it in the hole you created. You may need to recreate this hole to a degree by poking the implement you used back through.
12. Finally, add a chain and wear your seashell pendants with pride!
Your seashell pendants are complete! What else will you try crafting with InstaMorph? Comment below!
[ad_2]
Source link


